Setting Up and Securing My Microsoft 365 Environment
In addition to creating a blog and hosting it myself in my own cloud environment, I wanted to create a custom e-mail address that uses my domain name.
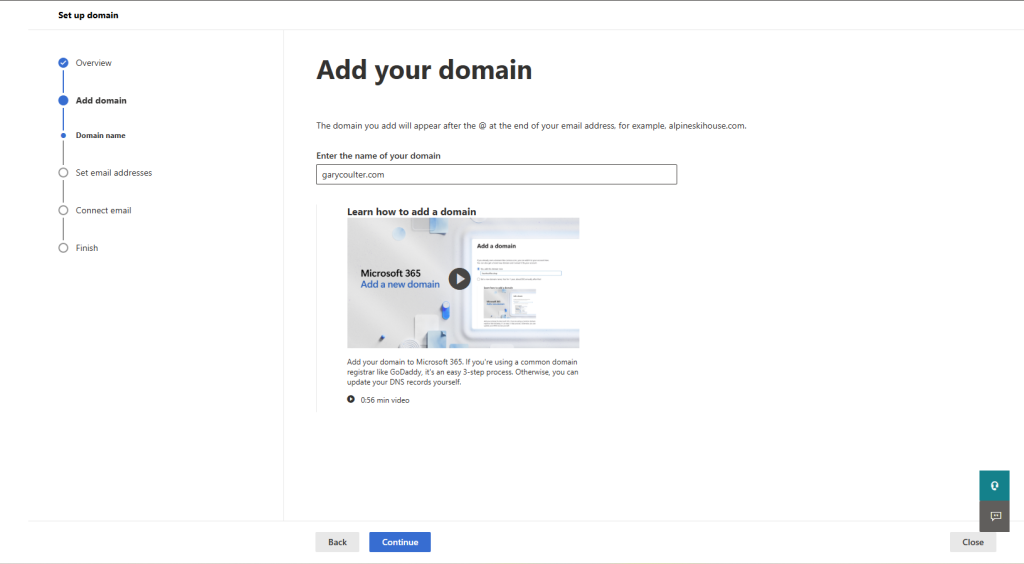
I chose Microsoft 365 as my e-mail provider. Microsoft 365 is a Software as a Service (SaaS) solution, which means it eliminates the need for me to manage servers and network infrastructure. Microsoft provides the software that allows me to send and receive e-mail and handles everything else. All I need to do is to perform some light configuration, including adding my domain name to Microsoft 365, as shown in the screenshot below.
Now I need to add a domain name service (DNS) TXT record to allow Microsoft to verify I’m really the owner of garycoulter.com. To do that, I log onto the Amazon Web Services (AWS) management console and select the Route 53 service, which is AWS’s DNS service. I’ll click on my hosted zone name is displayed in the management console.
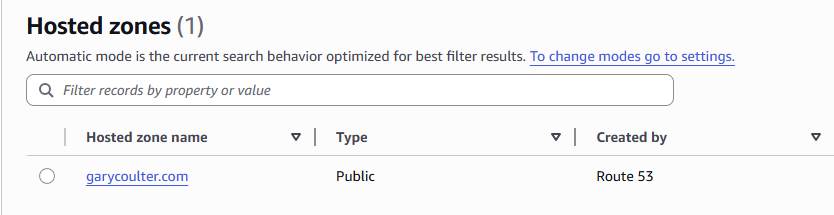
After clicking on the hosted zone name, I’ll click Create Record. In the recordtype dropdown, I’ll select TXT. I’ll enter the information provided by Microsoft in the TXT value and Time To Live (TTL) fields.
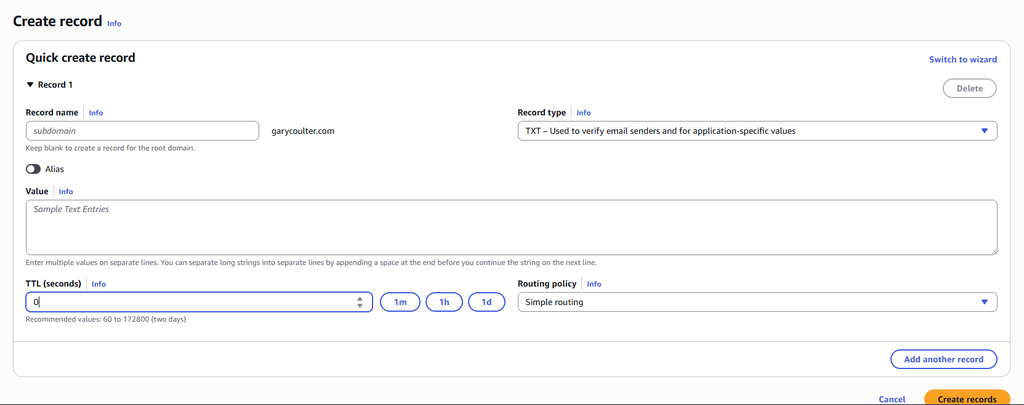
After all the required information has been entered, I’ll click the orange Create Records button in the bottom right. Doing so displays a message at the top saying that it will take 60 seconds to propagate the change across the Internet. After 60 seconds, I’ll go back to the Microsoft 365 admin center and click Verify.
Now I’ll create my new e-mail address. After entering my desired username, I’ll be automatically signed out of the Microsoft 365 admin center. I’ll sign back in with the new username I just created and the same password I used to create my Microsoft 365 account.
The next step is to add DNS records to connect my domain to the new e-mail address. I’ll navigate back to Route 53 and click Create Record. I’ll select MX (Mail Exchanger) from the Record Type dropdown to create a new MX record, which is used to specify which mail servers receive e-mail for my domain. In the Value field, I’ll add the Priority, followed by a space. Then I’ll add the information provided by Microsoft under “Points to address or value.” A period must be included after the value entered. Next, I’ll click Create Records.
The next step is to add a CNAME record to allow my user account to connect to its mailbox. I’ll click Create Record, enter “AutoDiscover” (without the quotes) in the Record Name field, and select CNAME from the Record Type dropdown. In the Value field, I’ll enter autodiscover.outlook.com and click Create Records.
Next, I’ll add a TXT record to help prevent spam. I’ll click Create Record and enter @ Select TXT from the Record Type dropdown. I’ll enter the information provided by Microsoft under the TXT value in the Value field, being sure to enclose the value in double quotes. I’ll click Create Records to create the TXT record.
It will take a few minutes for the TXT record to propagate. After a few minutes, I’ll navigate back to the Microsoft 365 admin center and click Connect Email.
Now I have a custom e-mail address using my own domain name!